
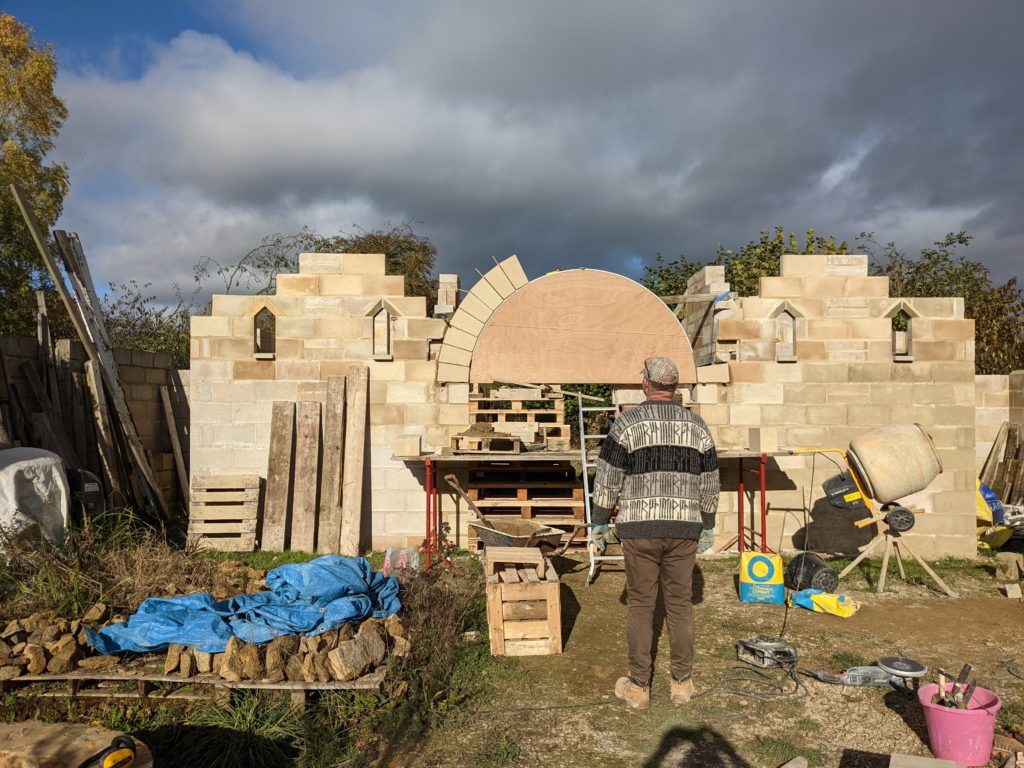
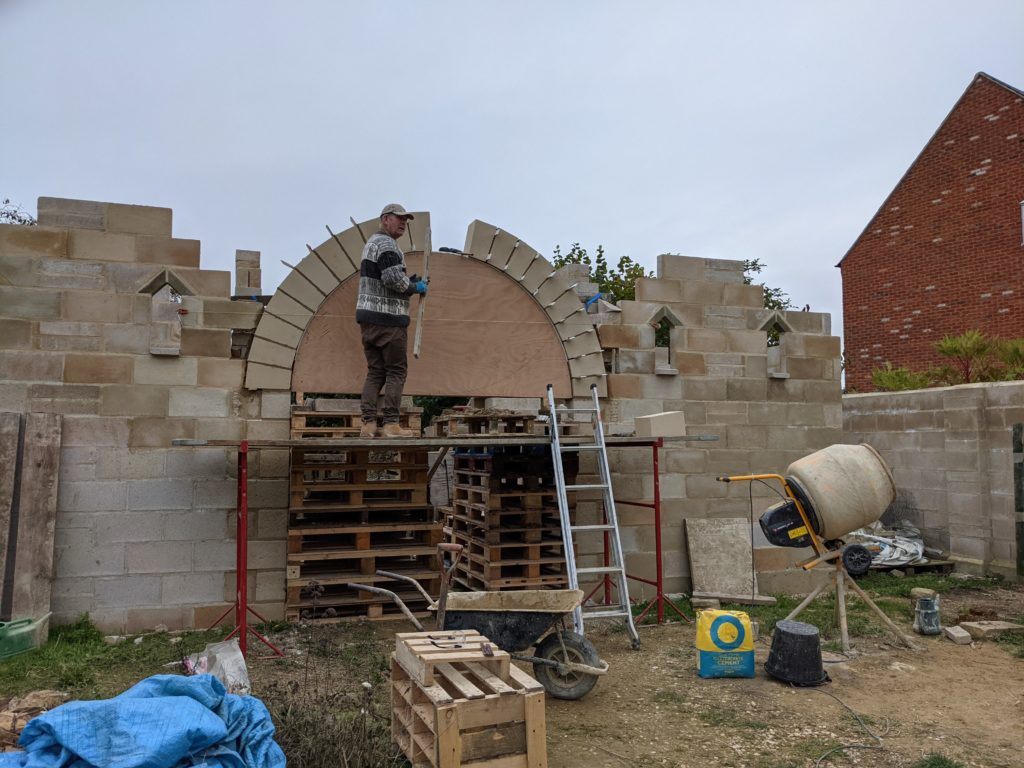
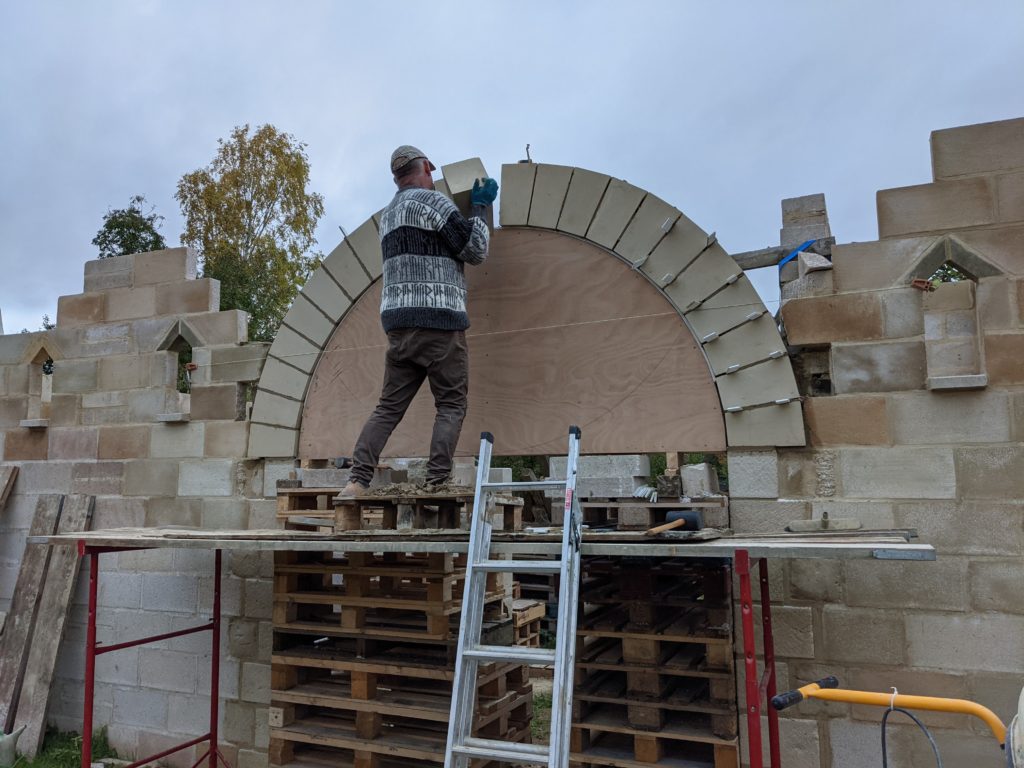
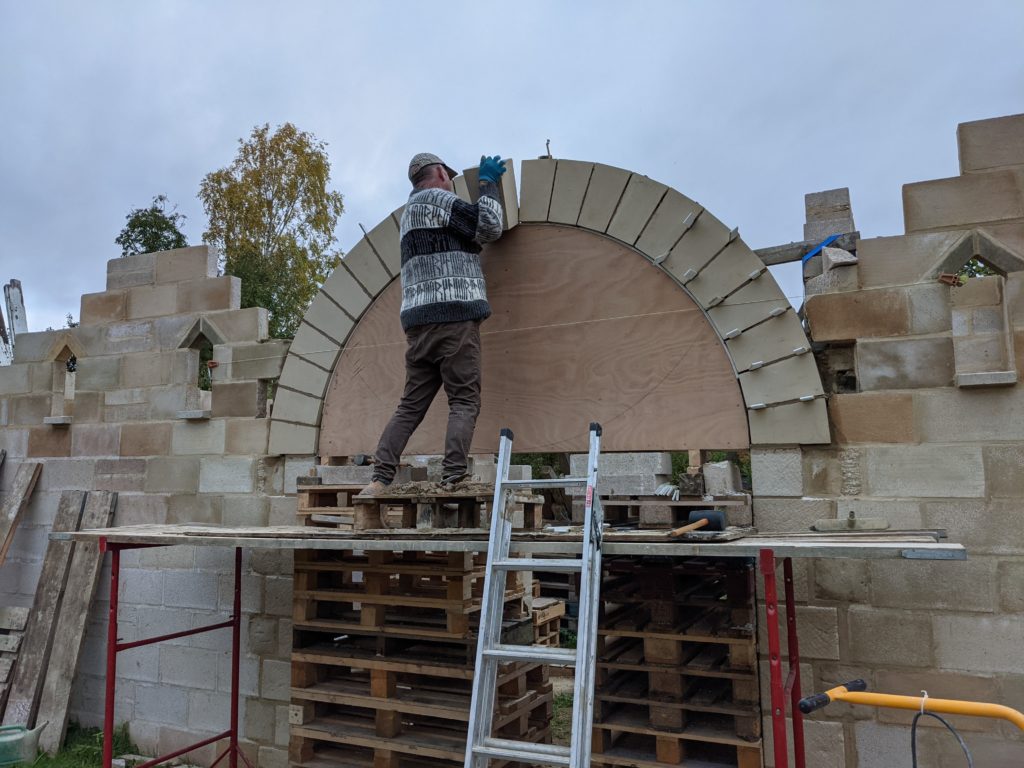
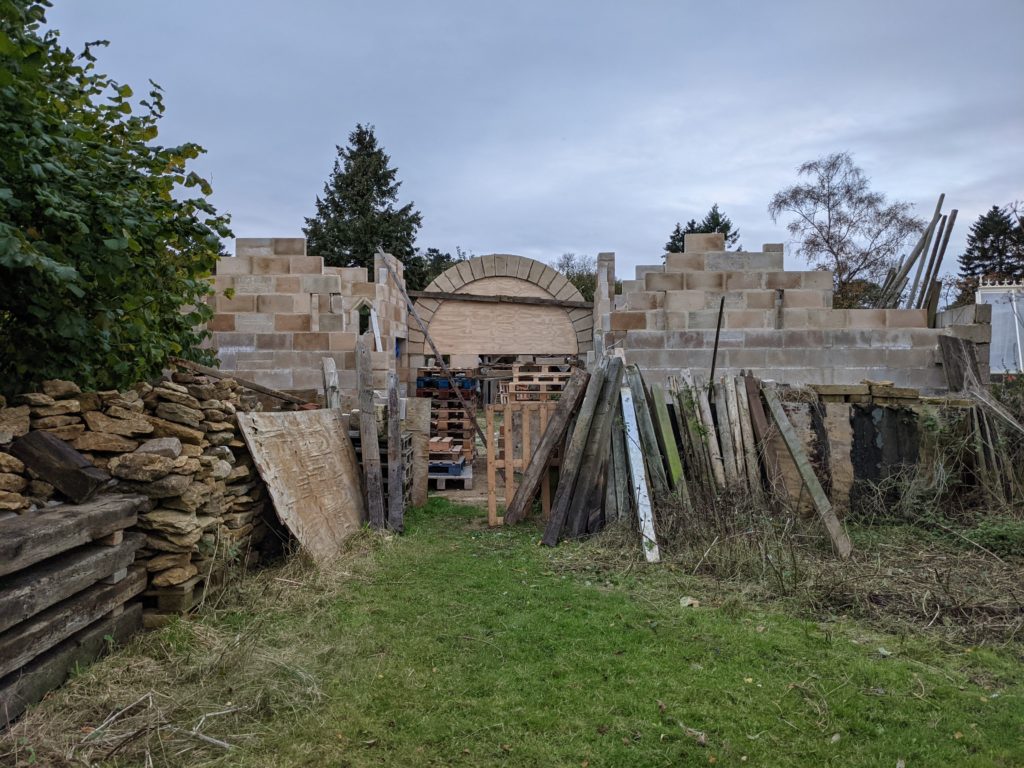
You will remember from my previous post that “voussoir” is the technical term for shaped blocks to form an archway, and ours were cast in artificial stone by the fabulous people at Bespoke Concrete. Tuesday November 9th was the great day when everything was ready and Chris arrived bright and early to try to build the entire arch in one day. Splitting it into two days build would have been possible but we all felt it would be much better to complete it in one go instead of leaving part of an arch overnight. This was a good decision.
We chose to build the arch out of just one type of block as it made designing and sourcing the blocks easier. So the springers (the bottom stone of the arch on each side) and the keystone (the top centre stone) are all the same slightly trapesoid block.
If you’d like to see a real Roman arch in Britain, go to Lincoln where are not one but two Roman gate arches dating back to the third century CE still in place. Aren’t they fab?
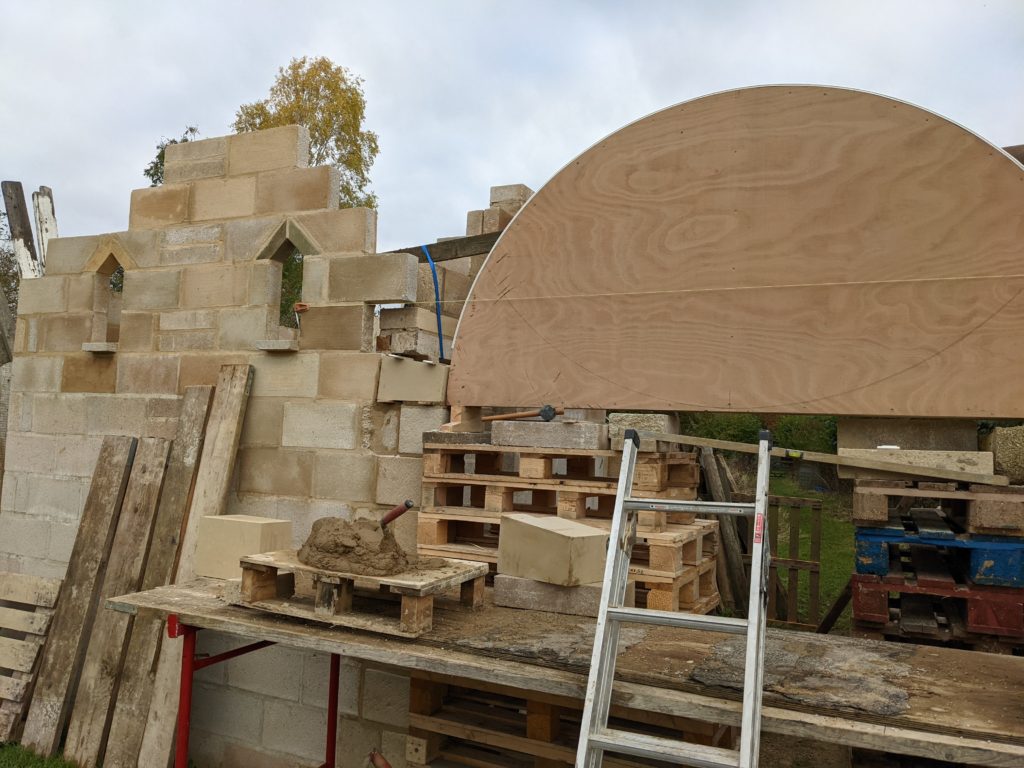
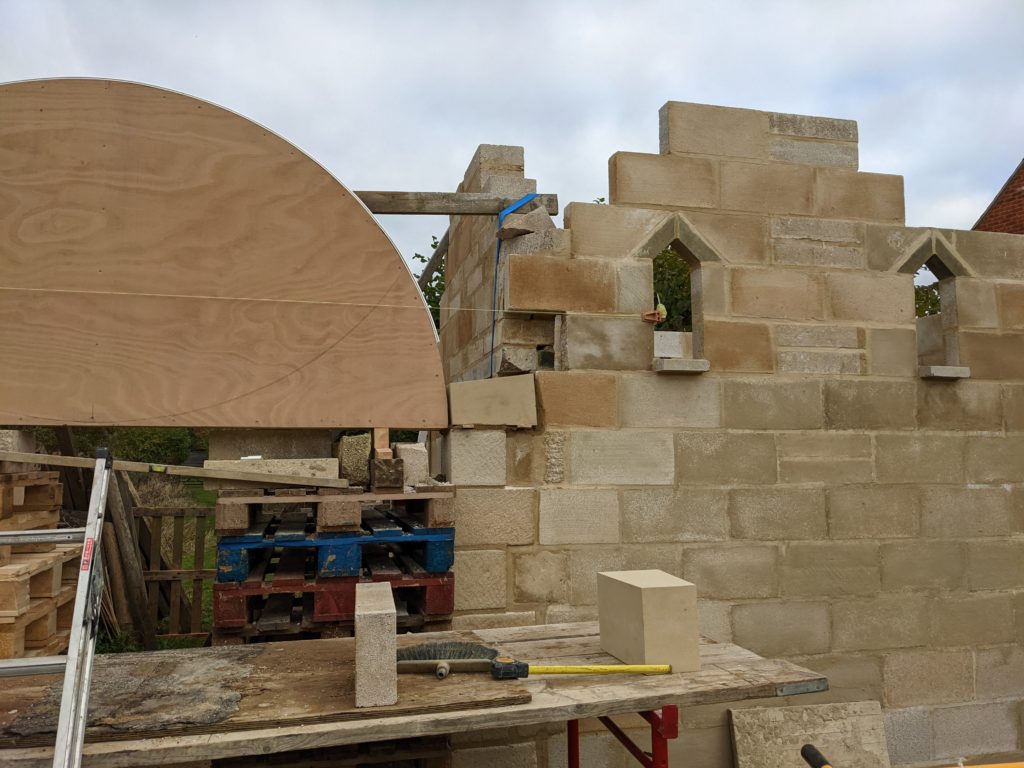
The block above each springer had to have a section cut out to fit against the lintels over the doorways to the side chambers. Al made templates to facilitate accurate cutting. The cutouts don’t show from the outside. We’re a bit pinched for space so everything is squeezed in a littler closer than would be ideal.
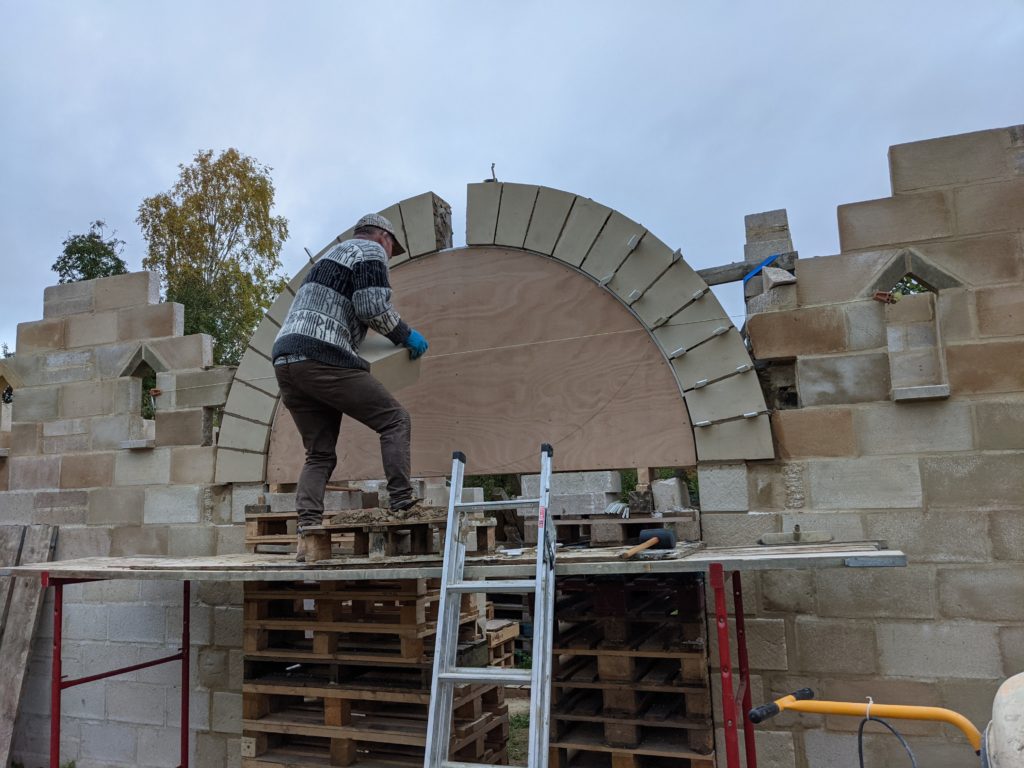
We did not realise it at the time but these photographs reveal another significant error on our part. Do you see what it is? If not don’t worry, you’ll find out at the same point we did…read on…
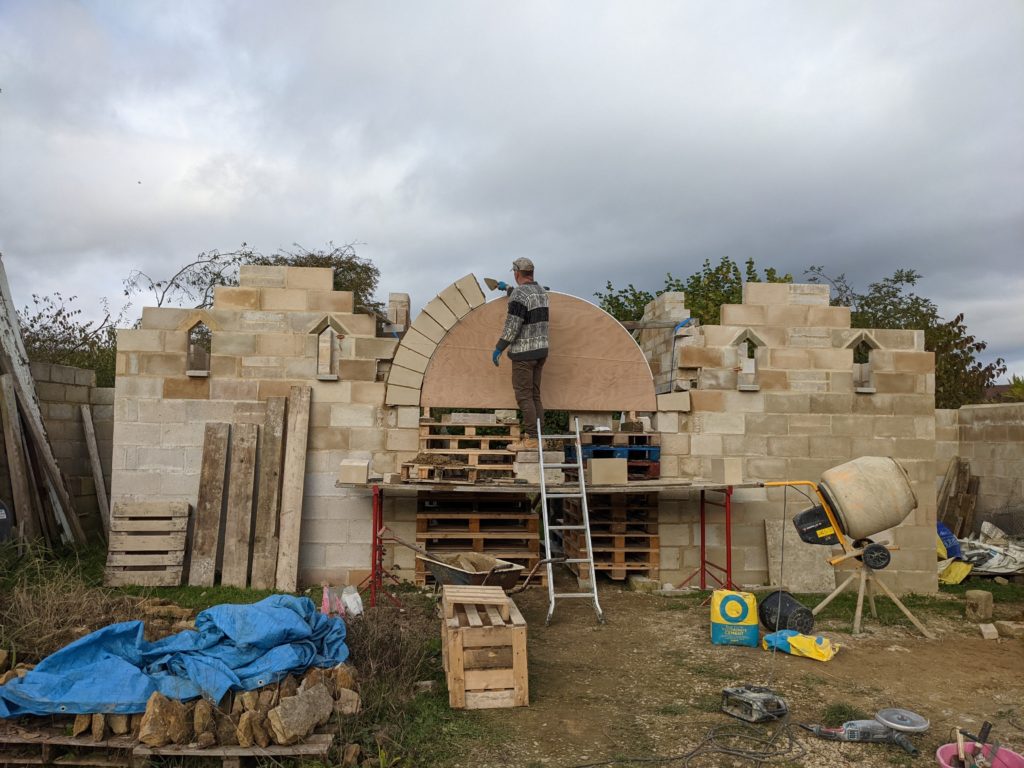
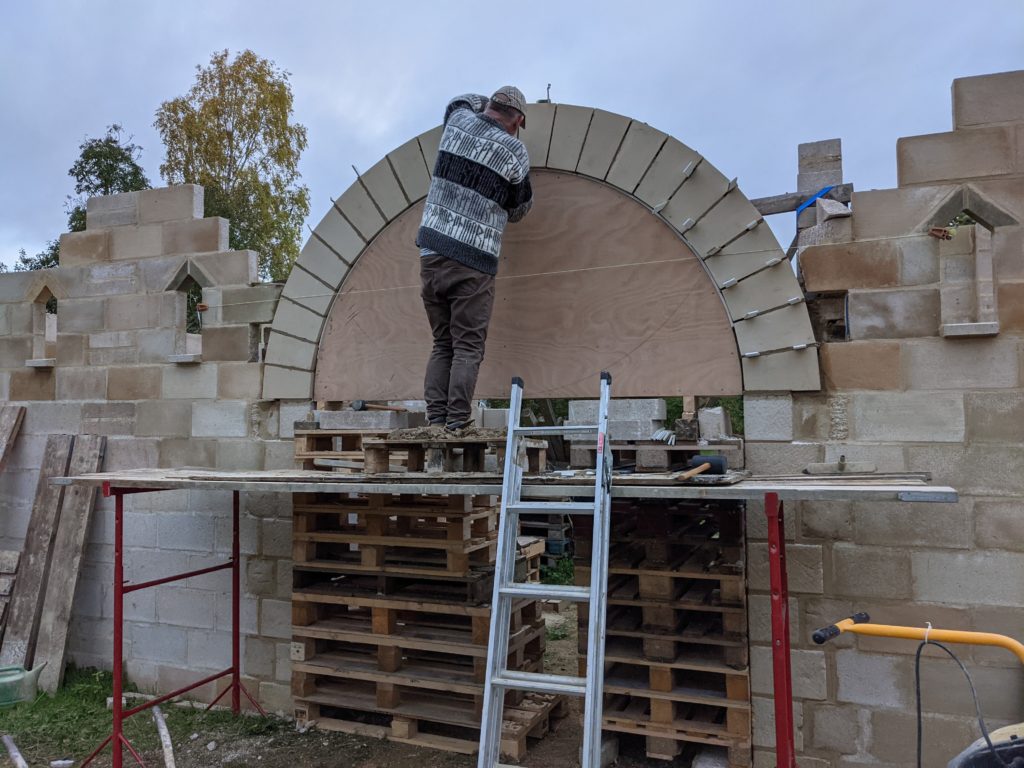
It was around this point that we realised that by aligning the bottom of the former with the top of the pillar blocks, we had effectively reduced the height of the arch by 20 mm. The former should have been raised 10 mm above the top of the pillars so the springers were aligned with the bottom of the former, but the springers were actually 10 mm higher because of the mortar layer on top of the pillar blocks. This meant there wasn’t room in the middle for the final keystone. Fortunately, the mortar was all still wet so Chris was able to nudge the blocks either side and reduce their spacing enough to slot in our keystone. It shows just how easy it is to make a mistake on an unfamiliar project.
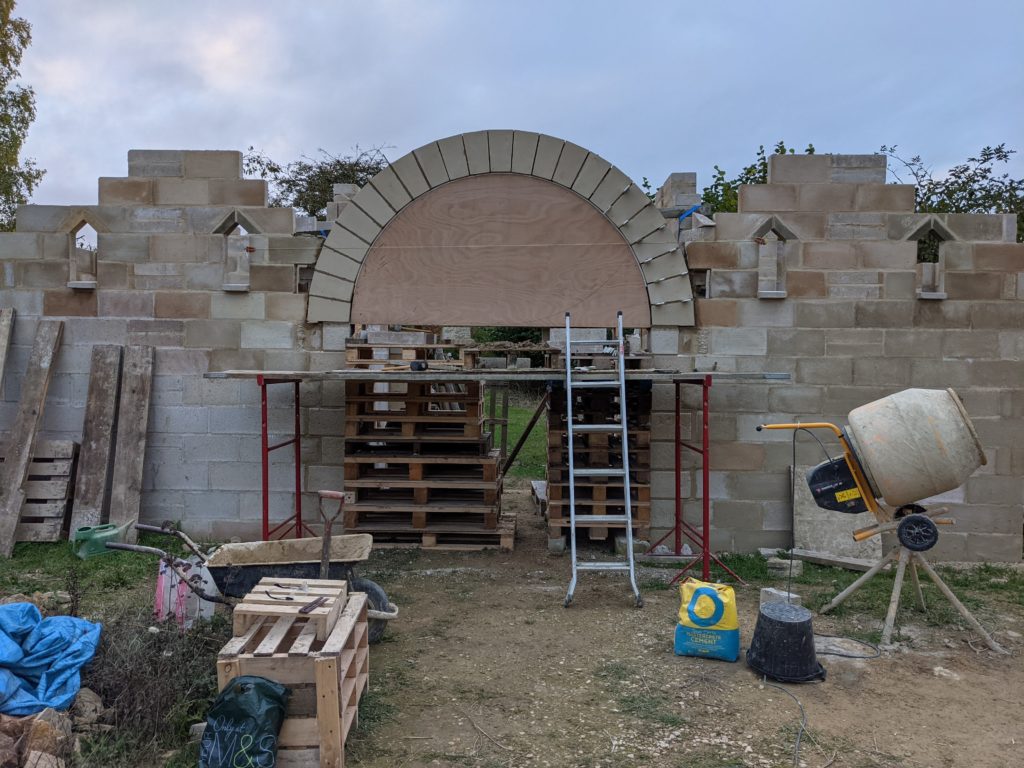
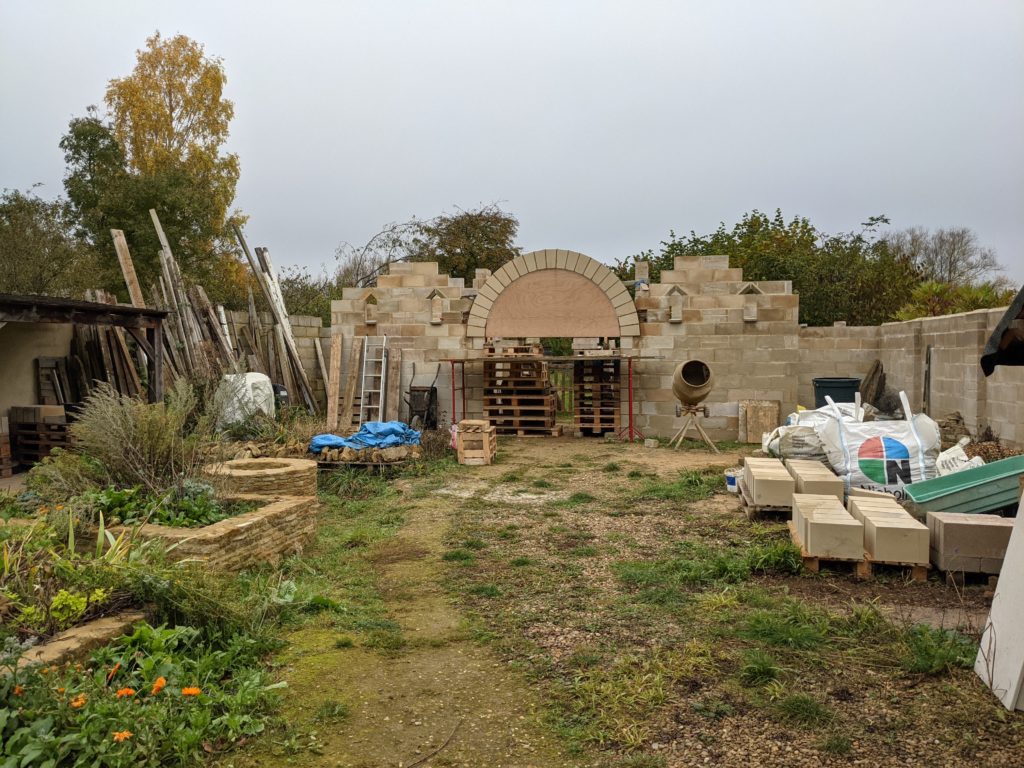
Here’s the arch finished; this photo was taken the next day as Chris did all the pointing and filling in of gaps where the spacers had been between blocks after dark, by the light of one of they modern LED battery-powered work lights. Yay for modern technology!
Chris has built arches before but not this scale, and the entire process was new to the rest of us. Logic, trigonometry and first principles got us a long way, but lack of experience caused us to make several mistakes. These were fixable, but cost us time and stress; fortunately Chris’s skill and Al’s ingenuity saw us through. Overall though, we’re jolly happy to have a Roman arch!